
Lutron is a professionally designed lighting and shading control system. The installation process ensures lighting feels intuitive, balanced, and reliable over time.
Because lighting affects how every room looks and functions, the planning phase is just as important as the hardware itself. Here’s what a typical Lutron installation looks like for Dallas homes and businesses.
Why Lutron Is Professionally Designed
Lighting control isn’t just about replacing switches. It involves understanding load types, dimming behavior, keypad placement, shade alignment, and how natural light changes throughout the day.
Professional design ensures:
The system can expand over time without reworking everything
Fixtures dim smoothly without flicker
Keypads are positioned where they’re most intuitive
Lighting levels feel balanced across rooms
Motorized shades coordinate with daylight exposure
The result is a lighting environment that feels natural and consistent from morning through evening.
Step 1: Consultation and Lighting Assessment
Every Lutron installion project begins with a conversation about how the space is used.
For homes, that often includes:
- Rooms that feel too bright or too dim
- Areas with heavy afternoon glare
- Kitchens, offices, or media rooms that need flexible lighting
- Outdoor lighting goals
For businesses, the focus may include:
- Conference room brightness and screen visibility
- Lobby or showroom presentation
- Energy usage during long operating hours
- Exterior lighting for safety after dark
In Dallas, sunlight exposure and heat gain are often part of the assessment. Window placement, orientation, and daily use patterns all influence how lighting and shades are designed.
Step 2: System Design and Keypad Planning
Once goals are clear, the system is mapped out. This phase typically includes:
- Determining which fixtures will be controlled together
- Selecting appropriate dimming modules for each load type
- Planning keypad locations and button layouts
- Identifying shade zones and daylight management strategies
- Creating a path for future expansion
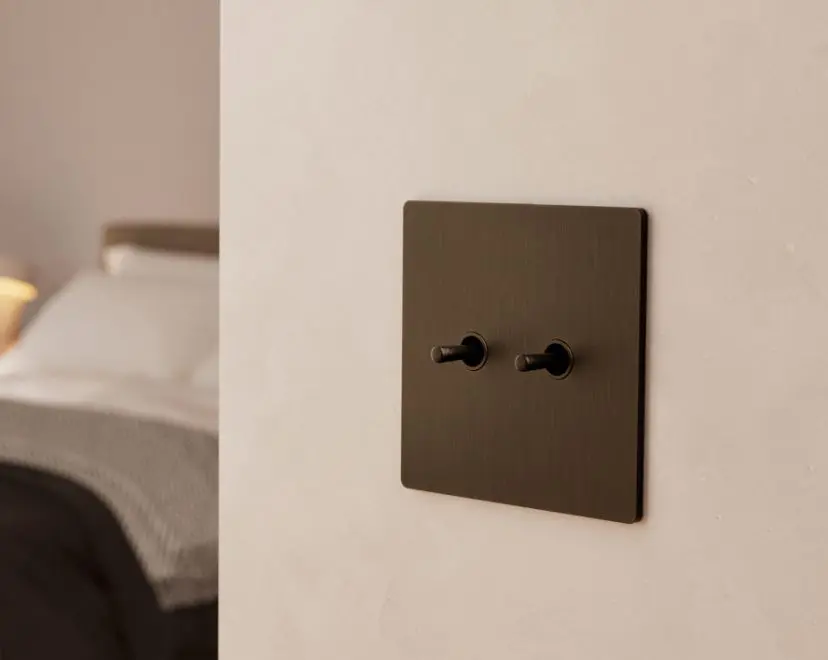
One of the most important decisions in this phase is keypad design. Instead of walls filled with individual switches, a single keypad can activate multiple lighting levels with one button press.
This is where lighting scenes are defined — preset lighting levels designed for specific activities such as cooking, working, entertaining, or closing for the evening. These scenes are customized to the space rather than pulled from a template.
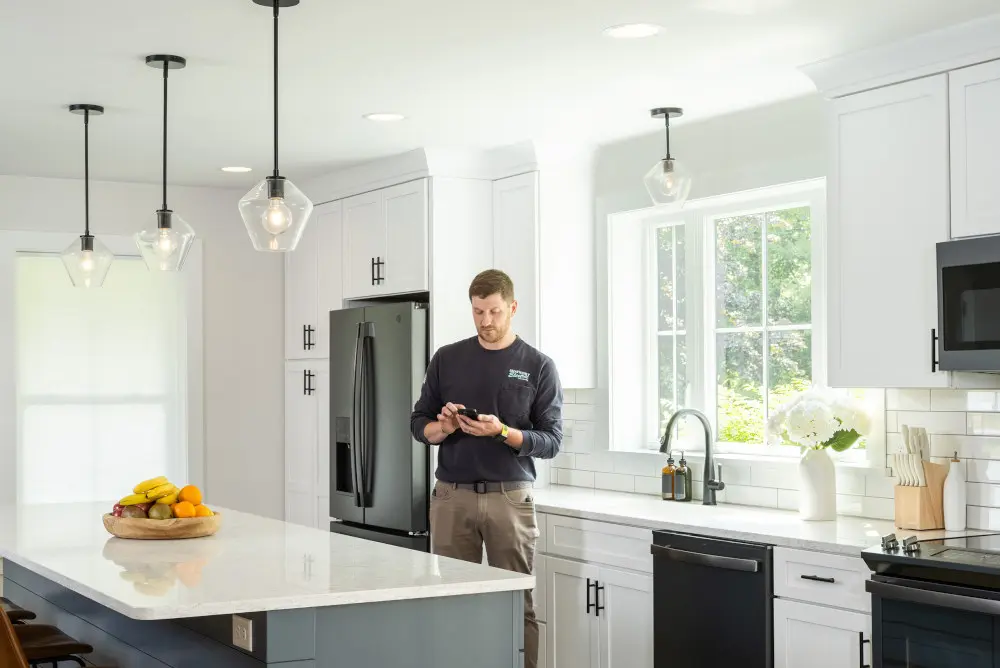
Step 3: Lutron Installation and Load Calibration
Installation focuses on precision. Depending on the project, this may involve:
- Replacing traditional switches with dimming modules
- Installing centralized control panels
- Mounting and aligning motorized shades
- Configuring network connections for app control
- Testing every load to ensure smooth dimming performance
Each fixture type behaves differently. LED fixtures, recessed lighting, decorative pendants, and exterior loads require calibration to ensure smooth, predictable dimming.
Shades are aligned and programmed to operate quietly and consistently, especially in spaces with strong Dallas sunlight.
Step 4: Programming and Fine-Tuning
Once hardware is installed, the system is programmed around daily routines. Lighting scenes are refined to ensure:
- Brightness levels feel balanced
- Transitions between scenes are smooth
- Evening lighting feels warm without being dim
- Work settings provide clarity without glare
For businesses, programming may include open and close schedules, automatic exterior lighting activation, and consistent conference room presets.
Fine-tuning often happens after initial use. Small adjustments ensure the system reflects how the space is actually lived in or operated day to day.
Step 5: Training and Handoff
A well-designed Lutron system should feel intuitive almost immediately.
During handoff, you’ll learn:
- How to use keypads and app controls
- How lighting scenes are structured
- How to make simple adjustments if needed
- What is automated versus manually triggered
The goal is confidence. You should understand how the lighting behaves — without feeling like you’re managing technology.
Ongoing Support and System Care
Lighting needs evolve. Fixtures change. Spaces get repurposed.
Ongoing support may include firmware and software updates, adjustments to scenes or schedules, adding new rooms or shade zones, and integrating with larger automation platforms such as Control4.
With proper support, a Lutron system continues to perform reliably for years while adapting to changes in the space.
Common Questions About the Lutron Installation Process
No. In many cases, existing fixtures can be integrated into a Lutron system, provided they are compatible with proper dimming modules.
Most projects are structured to minimize disruption. Work is planned in phases so the space remains usable during installation.
Yes. Lighting scenes are fully customizable and can be adjusted as routines or preferences evolve.
No. Lutron systems scale from individual rooms to entire properties. The design simply reflects the size and goals of the space.
Your Next Step
If you’re considering Lutron for your Dallas home or business, the next step is understanding how smart lighting design and control aligns with your specific space, schedule, and goals.
A personal consultation helps clarify which areas would benefit most from coordinated lighting and shading — and how the system can and should evolve over time based on your future needs.
Schedule a conversation with our experts to determine the right approach for your home or business.
Image credit: Lutron